
Eager to have your comms setup close by and elegantly fitted in your ride? Here are 21 inventive and functional methods for installing your comms setup, promising both practicality and your own unique stamp.
Beneath the Dash Install

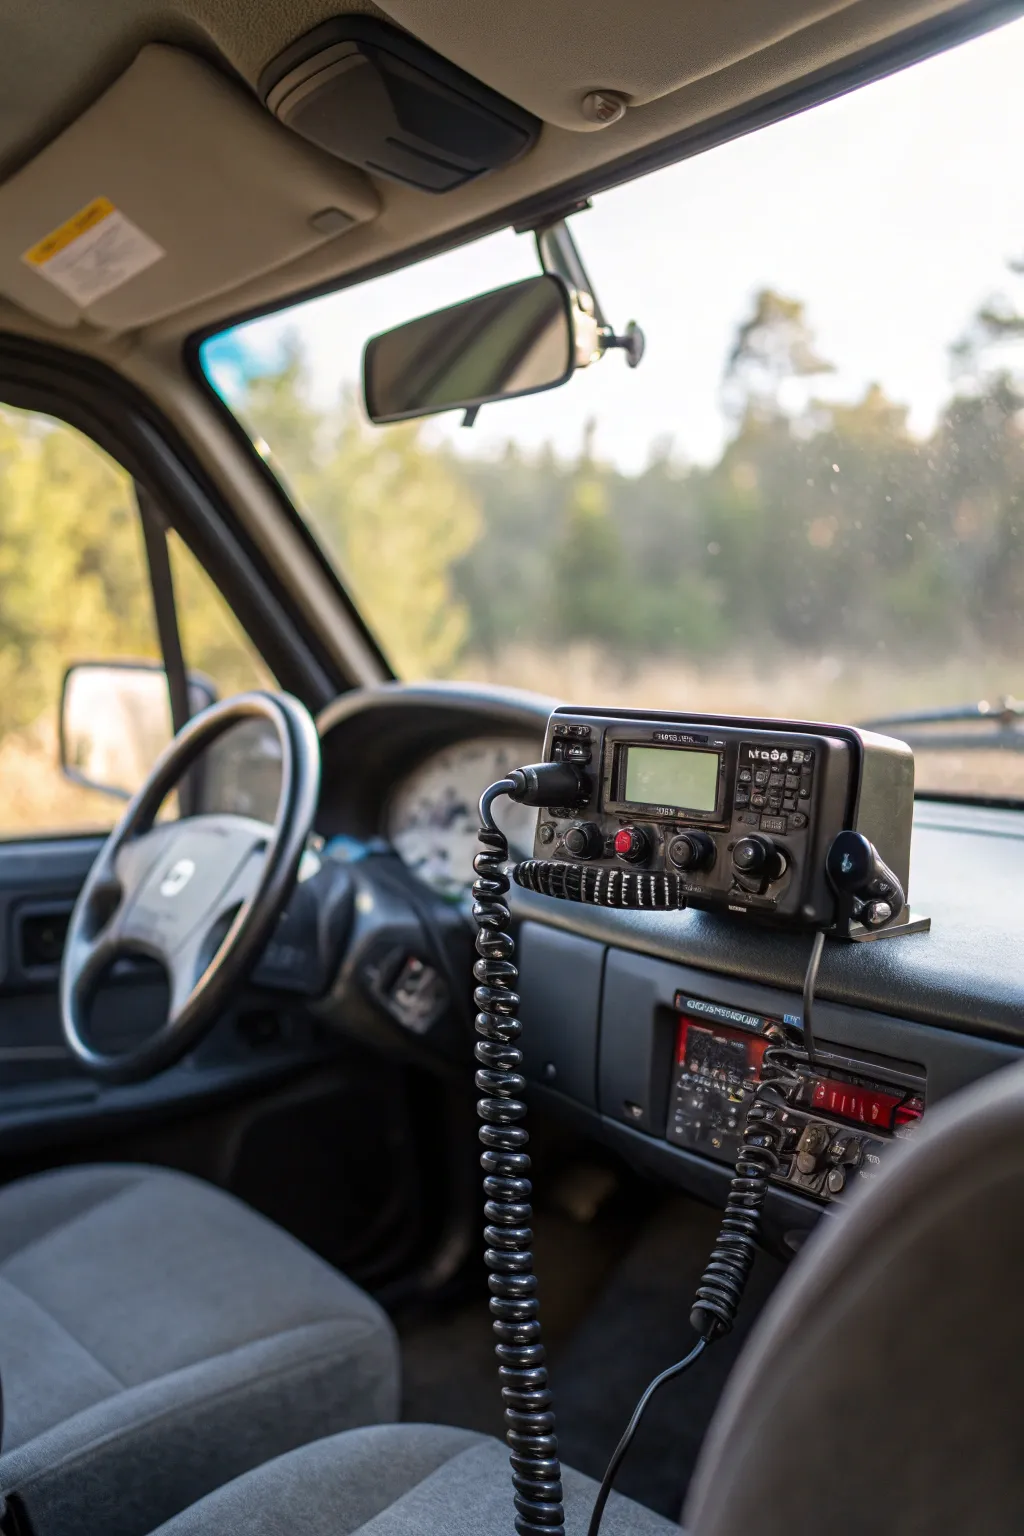
Secure your comms unit cleanly beneath the dash for a refined appearance that keeps it handy. I once did exactly this in my old off-roader and relished how it was tucked away yet super easy to get to. Just make certain it’s firmly attached to avoid any noise on rough terrain. This keeps it hidden yet readily available.
Consider these options:
- Adaptable Comms Unit Holder: Safely affix your comms setup beneath the dashboard for effortless and subtle access while on the move.
- Robust Grip Strips: Employ robust grip strips to securely fasten your comms setup without creating holes in your dash.
- All-Purpose Under-Dash Install Kit: Deploy this all-purpose kit for a reliable and tidy dash setup.
Easy-to-Get-to Cables

Guarantee your comms setup’s cables are not just tidy but additionally easy to get to. I once did a setup where I covered cables along the dash edge, and it appeared very professional. Just remember: neatness matters when it comes to cables! Tidy cables make all the difference.
Give these a look:
- Stick-on Cable Fasteners: Safeguard your cables cleanly along surfaces with these simple stick-on fasteners.
- Bendable Cable Wraps: Arrange multiple cables with bendable wraps for a professional, tidy appearance.
- Dash Cable Hider: Cover and protect your cables smoothly using a dash cable hider.
Fold-Down Sunroof Console

Make a fold-down console for your comms unit using the sunroof area. I appreciated how this design let me hide the unit when not in use, keeping the car’s interior uncluttered. It’s a bit of a project but worth the effort for a sleek look. Keep your interior uncluttered.
Check if these fit your needs:
- All-Purpose Unit Install Kit: Install your comms unit with ease using this adaptable kit for sunroof consoles.
- Fold-Down Hinge Bracket: Improve access with a fold-down hinge bracket for your custom sunroof console project.
- Sunroof Panel Liner: Ensure a smooth look with a durable liner tailored for custom installs.
Overhead Console Install

For those who appreciate overhead arrangement, install your comms unit in the roof console. I once built my own overhead console, and it felt like having a command post in the vehicle! Just guarantee it’s well-secured to handle the load. It’s like having a command center.
Products that could assist:
- All-Purpose Comms Unit Holder: Safeguard your comms unit overhead with this durable holder. Ensure stability on your journeys!
- DIY Overhead Console Kit: Put together your own overhead console for an arranged command post atmosphere. Start building now!
- Heavy Duty Stick-on Grip Strips: Deliver increased security for your comms unit with strong stick-on grip strips. Simple to change!
Blend with Existing Features

Incorporate your comms unit with existing dash features for a consistent look. I once painted a unit faceplate to match the dash, and it appeared factory-made. It’s all about integrating with style! Blend seamlessly for a factory look.
Explore these options:
- Customizable Comms Unit Faceplate: Upgrade your dash with a customizable faceplate for a smooth, incorporated appearance.
- Dash Paint Matching Kit: Achieve a factory-made appearance with a dash paint matching kit, mixing your comms unit perfectly.
- All-Purpose Comms Unit Install Kit: Guarantee smooth integration with an all-purpose kit tailored for your dash style.
Removable Grip Strips

Grip strips provide a temporary yet secure mounting solution. I tried this for a road trip and appreciated how I could easily remove the unit afterward. It’s a no-fuss, no-drill option! A fuss-free solution.
A few choices to try:
- Robust Grip Strips: Hold your comms unit effortlessly; these strips provide a strong, non-permanent hold.
- Industrial Strength Grip Tape: Easily connect and disconnect devices without drilling; perfect for flexible mounting needs.
- Removable Stick-on Grip Strips: Enjoy simple install of your comms unit with these removable strips.
Practical and Safe Use

Prioritize the location of your comms unit to guarantee safe use. I always test locations by reaching for the unit while driving in a safe area to check ease of use. Safety first, style second! Safety is the primary concern.
Might be a good match:
- Adaptable Comms Unit Mount: Hold your comms unit with an adaptable mount to guarantee smooth access while driving safely.
- Magnetic Microphone Clip: Keep your microphone nearby with a magnetic clip for quick and safe access.
- Antenna with Simple Install: Improve signal with an antenna that installs effortlessly to your vehicle for best performance.
Dash Pocket Change

Turn a dash pocket into a comms unit stand for a snug fit. I once repurposed an old sat-nav holder, and it worked perfectly for my small unit. It’s a great use of space that would otherwise be empty. Make the most of unused space.
Some handy options:
- All-Purpose Comms Unit Install Kit: Hold your comms unit with an all-purpose kit for a tidy dash setup.
- Dash Organizer Pocket: Arrange and install your unit with a stylish dash pocket to improve space use.
- Adaptable Sat-Nav Holder: Repurpose an adaptable sat-nav holder for snug unit install in your vehicle.
Glove Box Hideaway

Use your glove box as a hidden unit area. I built a custom shelf inside mine to hold the unit securely. It’s great for keeping things tidy and out of sight. Keep things neat and out of sight.
Possibly handy products:
- All-Purpose Comms Unit Mount: Hold your comms unit discreetly in your glove box with this all-purpose mount.
- Compact Comms Unit: Pick a compact unit for smooth install and hidden storage in your vehicle.
- Customizable Shelf Kit: Build a custom shelf inside your glove box for secure comms unit install.
Custom Holders

Make custom holders to suit your particular vehicle type. I appreciate how custom holders can provide a tailored and polished appearance, and it’s an enjoyable project if you appreciate a bit of metalwork. Just let your creativity be your guide! Personalize your install.
A few helpful options:
- All-Purpose Metal Holders: Upgrade your vehicle with these adaptable holders for a stylish and custom install.
- DIY Metal Shaping Tool Set: Outfit yourself with essential tools to make custom metal holders tailored to your requirements.
- Comms Unit Mounting Bolts: Hold your comms unit with professional-grade bolts for a reliable and polished appearance.
Seat Side Mount

Install your comms unit to the side of the seat for a stealthy approach. I experimented with this using a custom holder, and it was practically unseen from outside the vehicle. It’s great if you prefer a subtle setup. It’s nearly invisible.
Check these products out:
- All-Purpose Comms Unit Holder: Hold your comms unit with a versatile holder for simple install beside the seat.
- Robust Grip Strips: Improve steadiness and smooth access by securing your comms setup with durable grip strips.
- Adaptable Seat Side Organizer: Arrange your vehicle with this adaptable seat side organizer for effective comms setup.
Sun Visor Clip-On

Clip your comms unit onto the sun visor for a minimalist approach. I found this setup handy for short trips when I didn’t want to commit to a permanent mount. Just be certain it’s secure to avoid any unexpected surprises! Perfect for short trips.
A few things you might like:
- All-Purpose Sun Visor Clip: Hold your comms unit effortlessly with this versatile clip. Perfect for simple access.
- Adaptable Elastic Strap for Sun Visor Mount: Keep your comms unit firmly in place using this adaptable elastic strap.
- Magnetic Holder for Sun Visor: Simplify install with a magnetic holder designed for quick connection.
Rearview Mirror Connection

Attach your comms unit to the rearview mirror for an unexpected twist. I once tried this setup, and it surprisingly didn’t block my view. It’s an unusual option if you’re feeling adventurous! Try something different.
A few suggestions:
- All-Purpose Rearview Mirror Install Holder: Easily hold your comms unit with this durable holder, keeping it accessible and stylish.
- Adaptable Comms Unit Holder: Change the position for best access and viewing while keeping your unit safe.
- Rearview Mirror Clip for Gadgets: Clip your comms unit onto the mirror for a secure fit without blocking the view.